How It Works
More than just a parenting assessment tool
Congrats! You are interested in starting KIPS. However, maybe you don’t know where to begin. We are here to assist with that process.

Step 1 Register for KIPS
After submitting the form, it will take 1 – 2 business days for us to set up your administrator access on KIPS.
Once added, you will receive a verification email from info@kipscoaching.com
When you click “Verify Account,” you will be taken to a page to set up your account. You will be prompted to provide your password, first name, last name, phone number, and job title.
Step 2 Billing Process
You can select the quantity of KIPS licenses you want (that is, the number of users). You will assign the licenses you purchase to people later on.
Put in your credit card, debit card, or ACH information.


Step 3 Adding Users to KIPS
Once you subscribe to KIPS, you will be redirected to the KIPS Admin Dashboard. From there, you can add KIPS users to the system by clicking the “+ New User” button at the top right corner. If you don’t have any KIPS licenses available, you will be prompted that a prorated amount will be charged to add the user to your KIPS plan.
When you click the “+ New User” button, a form will pop up. You will need to enter the first name, last name, email address, phone number, and job title of the user you want to add. Keep in mind that the email address you provide will be that person’s username for KIPS.

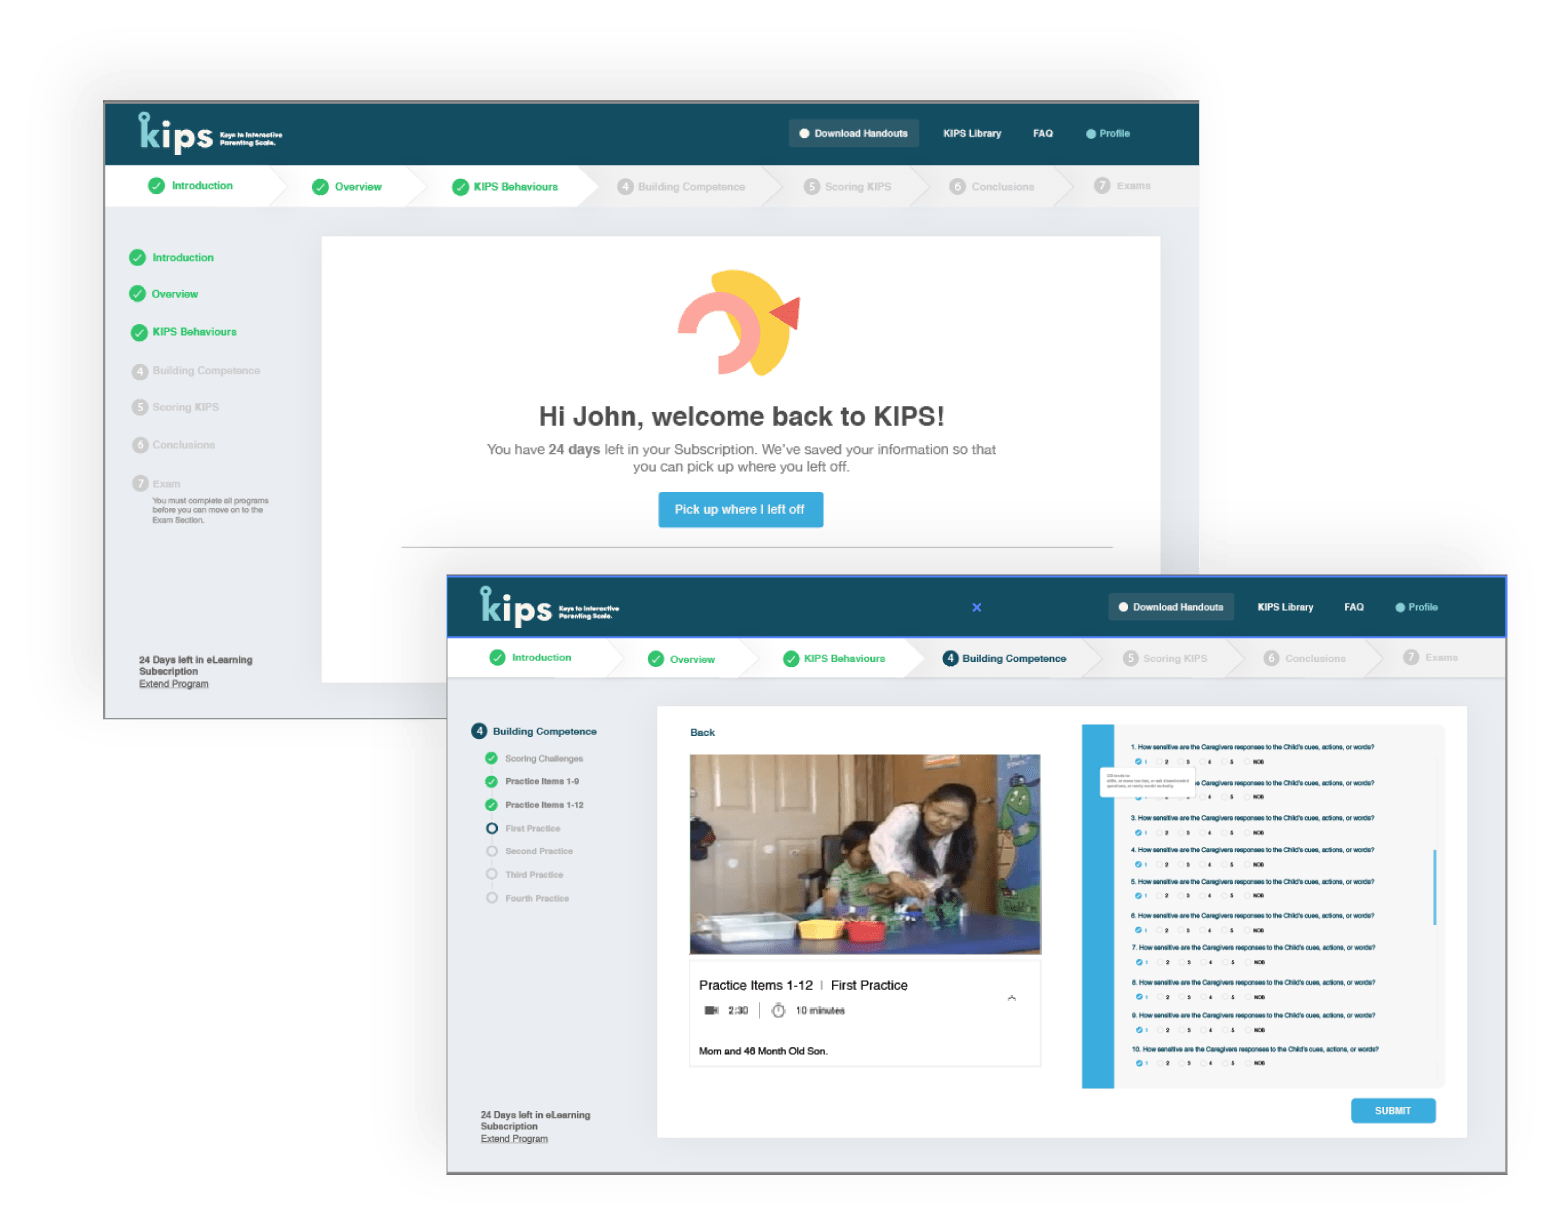
Step 4 Take KIPS Training
Step 5 Take the Exam
Step 6 You are a KIPSter!


Step 7 Ready for Recertification
Have Questions?
Have any additional questions about getting started with KIPS? Check out our Frequently Asked Questions for more information and answers.
